This is an Admin task.
Go to Admin > Users to see a full list of the users in your organization.
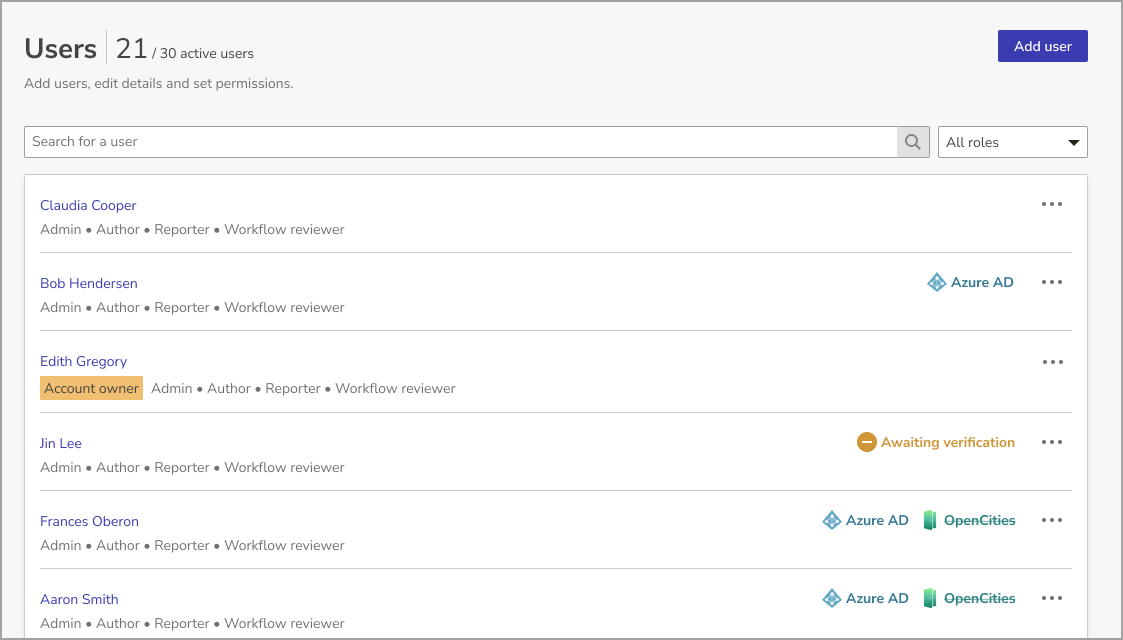
Here you can create new users and edit or deactivate the accounts of any users that are not managed by external systems. You can export a list of users in this area of your Forms & Workflow account.
Add a User
If your organization uses an external system to manage users, you should check with an Account owner before creating new users in the admin area.
To add a user:
-
Go to Admin > Users.
-
Select Create user.
-
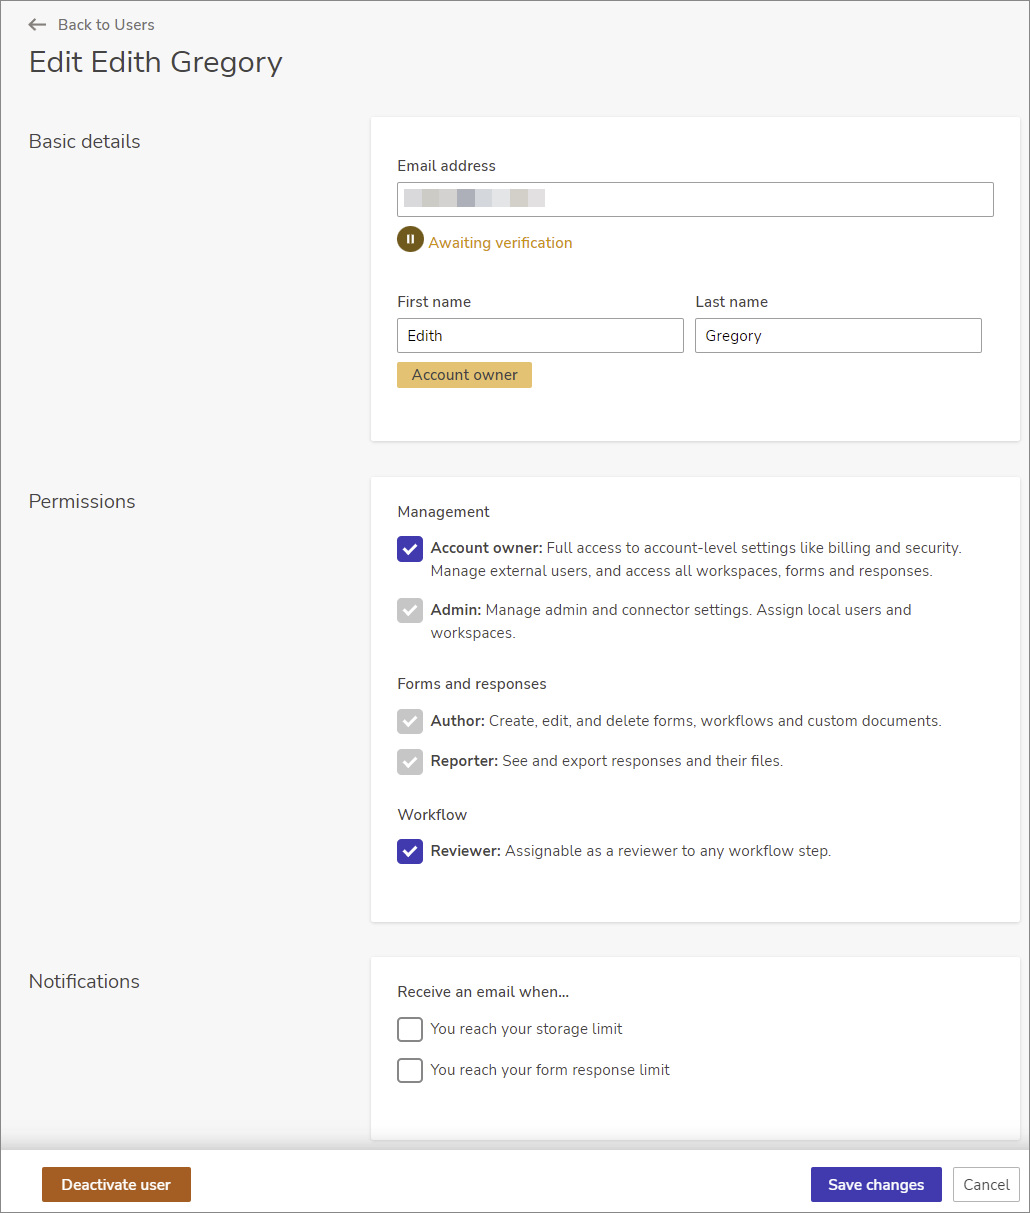
Enter the Basic details.
-
Use Permissions to select their role. You can select multiple roles for one user, such as Author and Reviewer. Some roles, like Account owners and Admins, contain multiple roles by default.
 Only Account owners can create other Account owners.
-
Set their notification settings. They’ll be able to change these themselves later.
-
Select Create.
Your new user will be sent an email with a link for them to set their password. Once they’ve done this, they’ll be able to log in. If you need to, you can select Send verification email again from the ... menu in the Users list. Passwords must be a minimum of 12 characters and contain at least one of each of the following:
- Uppercase letter (A-Z)
- Lowercase letter (a-z)
- Number (0-9)
- Symbol (`~!@#$%^&*()-_=+[]{}|\;:'",.<>/? )
You cannot use one of your last four passwords. Passwords for local users will expire every 90 days unless they are using multi-factor authentication. Users will receive reminder emails starting from 7 days prior to the password expiry and after the password expires users will be prompted to reset their password when they next log in.
Edit a User
-
Find the right user, and select Edit from the ... menu.

-
Change the user’s Basic details, Permissions or Notifications.
 Only Account owners can assign other users the Account owner role.
-
Select Save changes.
Deactivate a User
Deactivating a user will disable their user account. You or another admin can reactivate it whenever you want.
-
Find the right user, and select Deactivate from the ... menu.

-
In the popup window, choose Deactivate user to confirm.
See a list of the users you’ve deactivated under Deactivated users.
Only Account owners can deactivate other Account owners, and you cannot deactivate your organization's last Account owner; you must make another user an Account owner beforehand.
Reactivate a User
To restore an account that’s been deactivated:
- Go to Admin > Users and use the drop-down menu to select Deactivated users.
- Use the ... menu to select Reactivate.
- Review their user details and select the Reactivate user button. They’ll be sent an email with a link for them to set a new password.
Delete a User
Delete a user to remove their account completely.
- Go to Admin > Users and select Delete from the ... menu for that user.
- In the pop-up window, type DELETE into the confirmation field.
- Select Delete user.
Disable 2-step Verification
Account Owners and Admins can disable multi-factor authentication on behalf of other users.
- Find the correct user and use the ... menu to select Disable 2-step verification.

- Select OK in the confirmation pop-up box.
What's Next?